Finally I have found the time to write down part 3 of the ICS M4 restoration process that covers AEG compression. The world-wide pandemic was starting to pick up right around the time I started this stage of the project which resulted in massive delays. In any case, I have decided to write shorter pieces moving forward so I can churn out more content and I highly advise my readers to check out videos I post on YouTube and info on my other social channels for additional insight.
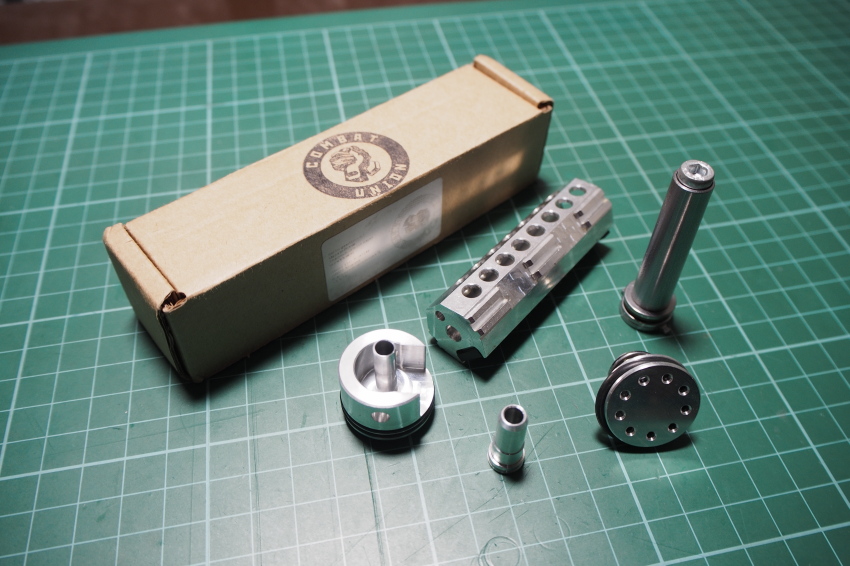
Moving on, I had actually completed the initial rebuild of the ICS upper gearbox two years prior when I reviewed parts from Combat Union. What I did not cover in that article was the actual testing, because the lower gearbox had not yet been restored at that time.
I was finally able to initiate the full restoration towards the end of 2019, starting with the gear train followed by the electrical circuit. Moving forward, I will be updating older articles with new findings by adding additional remarks at the end as they become available.
By doing this I hope to keep the informationl in them up to date and relevant while avoiding double posting repetative topics. And with that out of the way, I will now discuss compression.
Compression & Baseline Readings
AEG compression work is all about choosing a barrel to cylinder ratio and then ensuring a solid air seal and consistent operation between the related parts.
To start, I decided to first take initial chronograph readings with the old ICS compression components to replicate the performance of a stock system that has seen some wear and tear.
Initial readings I gathered were about 205 to 220 feet per second at 0.20g BBs, and a full-automatic rate of fire of about 22 BBs per second with a significant muzzle velocity drop.
I did use a Lonex A1 Supreme motor and 11.1v LiPo battery though. This was the motor and power source combination available for this project.
Without any sort of angle of engagement corrections, this combination proved too much for the stock piston body to handle and resulted in the plastic pick up tooth breaking off. The rubber base pad of the stock ICS cylinder head also happened to come off during this time, dropping muzzle readings below 200 FPS.
These two failures rendered the AEG inoperable, but not before I obtained the initial readings I needed for later comparison.
Barrel and Cylinder Volume Ratio
I may have discussed the relationship between the cylinder and inner barrel air volumes in an earlier article, but the main gist is that the difference in air volume capacity between them is the ratio we are working with. These two parts are essentially containers with different capacities that air transfers between.
When the compression cycle is initiated, the main spring pushes the piston towards the cylinder head to transfer the air into the hop-up chamber and inner barrel. During this process, the BB that would have been chambered would be pushed along by the flood of air and begin accelerating up to the point the piston stroke ends or the BB exits the barrel.
What decides the air volume of the cylinder is the presence of ports and their location along the cylinder. Ideally a 1 to 1 ratio between the volume in the cylinder and inner barrel would result in the most efficient air transfer by working 100% of the mainspring’s energy into the BB’s acceleration.
However, more air volume in the cylinder will be required to push the BB out the inner barrel comfortably to overcome drag and other factors. These inefficiencies allow us to tune the ratio between cylinder and inner barrel to achieve different effects.
I chose to only apply a moderate amount of over-volume between the cylinder and inner barrel because the end goal of this project was primarily just to restore the AEG into a working specimen.
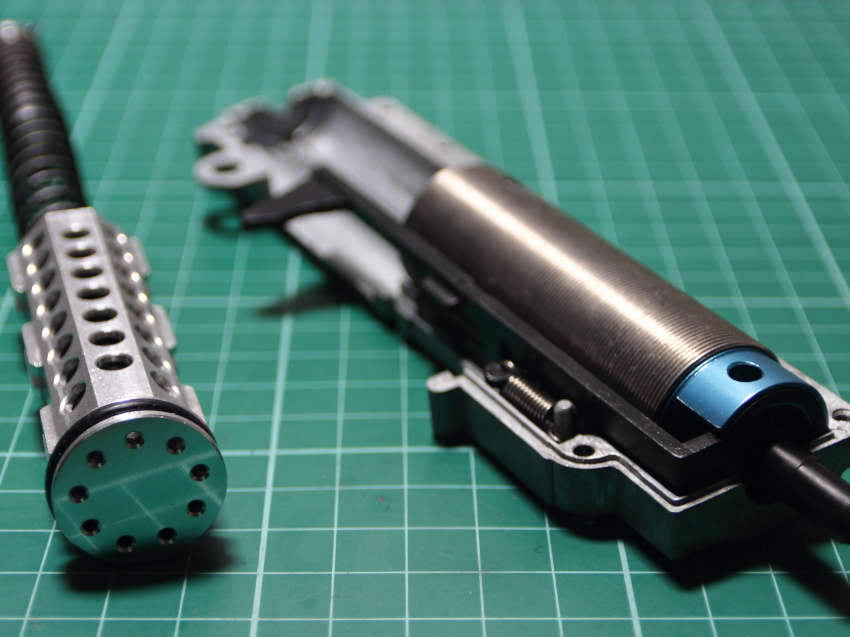
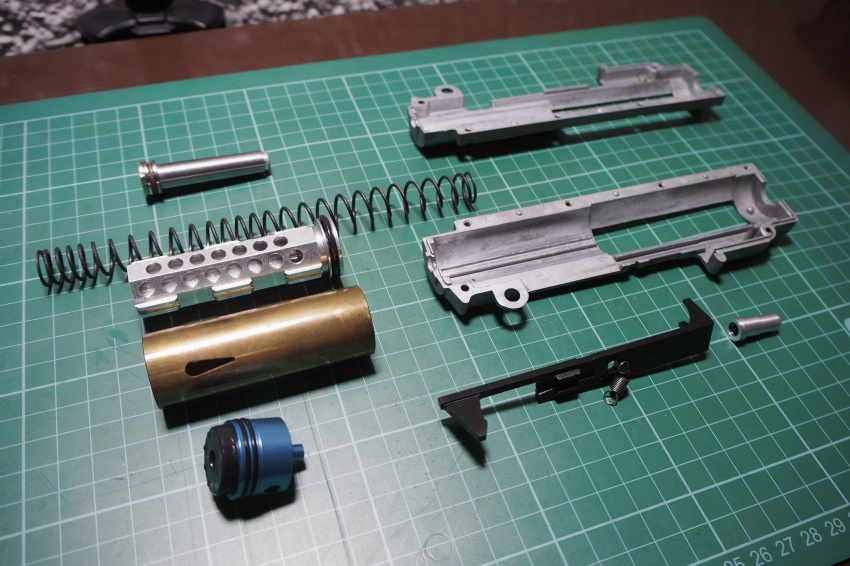
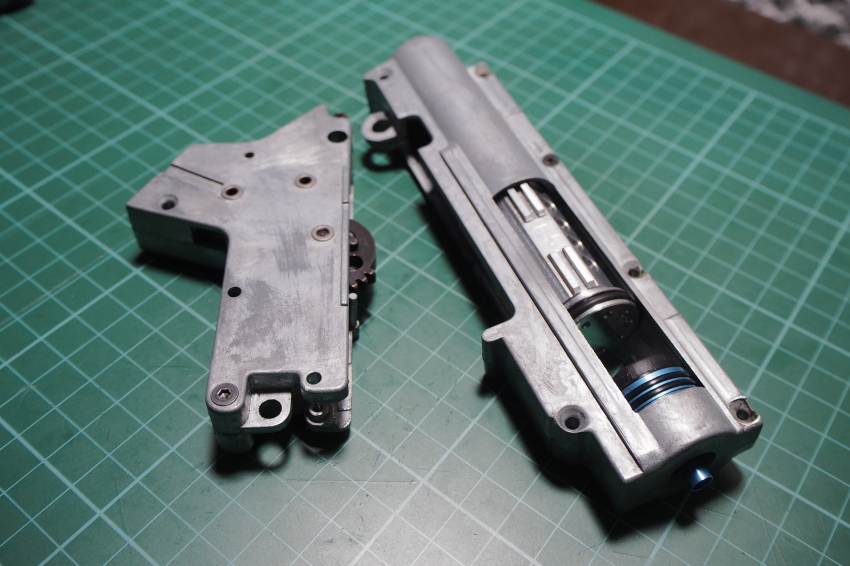
Piston Assembly
Moving onto the parts used, I want to first take a look at the piston assembly. The piston assembly is comprised of the piston body and piston head. The piston body captures the mainspring and provides a gear tooth rack for the gears to pull on so that it can be compressed.
On the piston head is an O-ring that pushes against the cylinder walls to maintain an air seal while the assembly moves forward to transfer air through to the cylinder head and hop-up chamber.
Originally the stock ICS piston head that was installed didn’t have any ports which caused the muzzle velocity to drop during full-auto fire. The cause was from the absence of ports that prevented air from passing through the piston head freely which created a vacuum in the inner barrel during the return stroke.
The Combat Union replacement is ported and allows air to pass through the piston head, preventing a seal and vacuum from forming during the assembly’s return stroke.
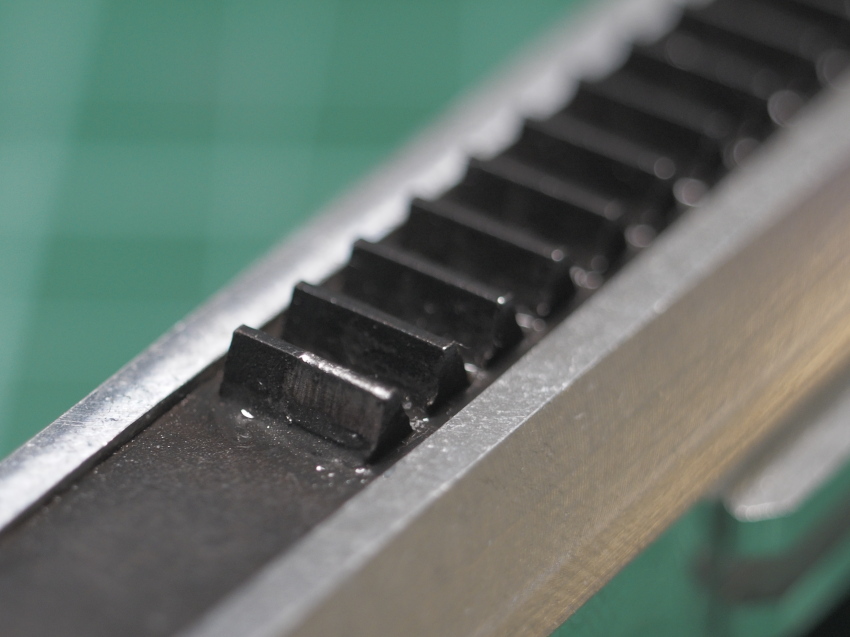
Next, the tooth rack on the Combat Union piston had a notably nice profile which made them easy to work with. Usually, aftermarket pistons are not readily tuned for angle of engagement corrections and need some sort of modification. However, once a 3/16″ pad was added to the cylinder head, the pick up teeth on the piston and sector gear cleared and lined up quite well without additional work.
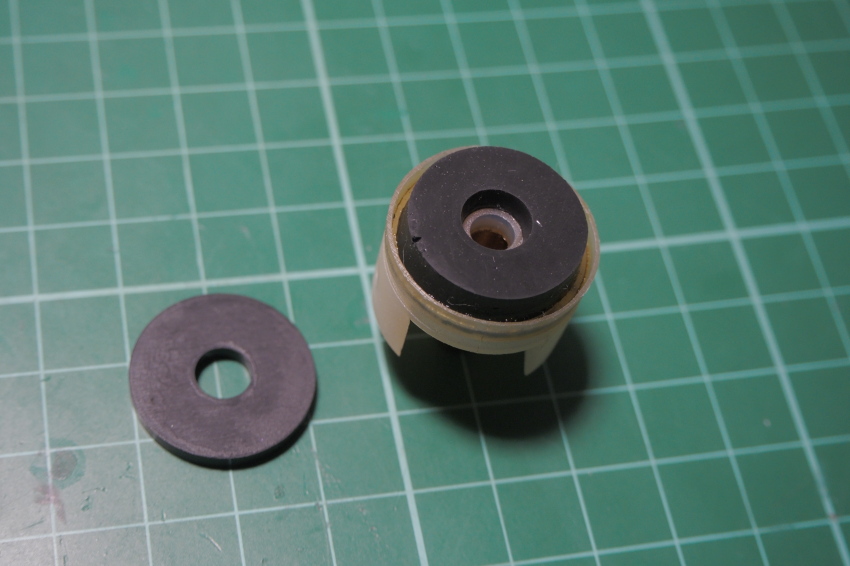
Cylinder Head Problems
Unfortunately my original plan of reusing the stock plastic cylinder head did not work due to air leaks that would form on it when air pressure was applied to the system.
Combat Union’s cylinder head, that was part of the kit I had, also posed some issues with the double O-Rings not fitting well in the cylinders I had on hand. In the end the this cylinder head sat too stiff and could not be positioned to seat properly in the gearbox. An additional concern of mine was that the length of the cylinder head’s spout was not uniform and is slightly tapered thinly halfway towards the tip. Although minor, this adds to the factors of inconsistencies when I am trying to keep them to a minimum.
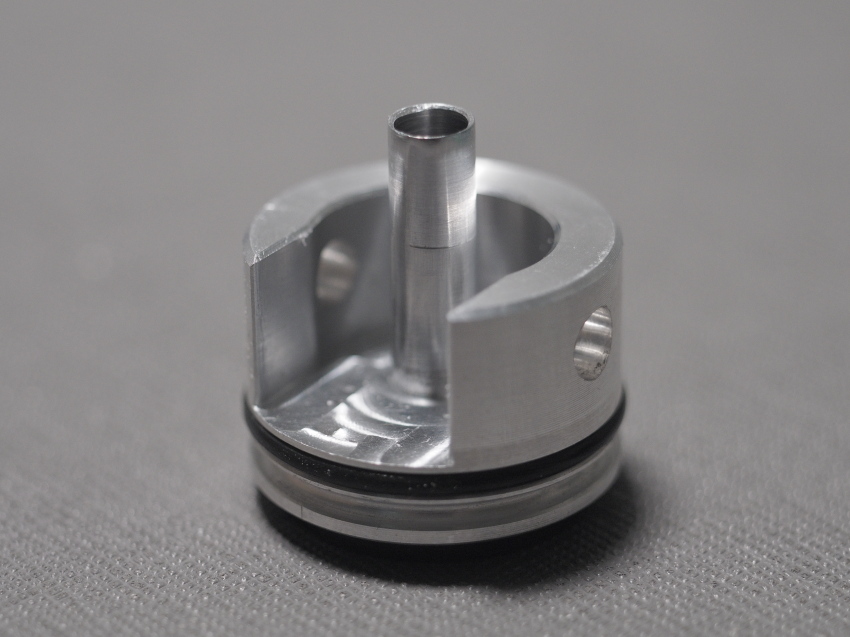
I eventually decided to use a pre-prepped Lonex Cylinder head I was saving for my G3 restoration project, which solved all the issues.
Final Hop Chamber Choice
Unfortunately an original ICS M4 hop up chamber was not included with the parts salvaged for this build. It was used to restore another ICS M4 that belonged to the original owner of both AEGs. This one came with a Deep Fire metal M4 hop-up chamber that was not successfully transplanted the first time around.
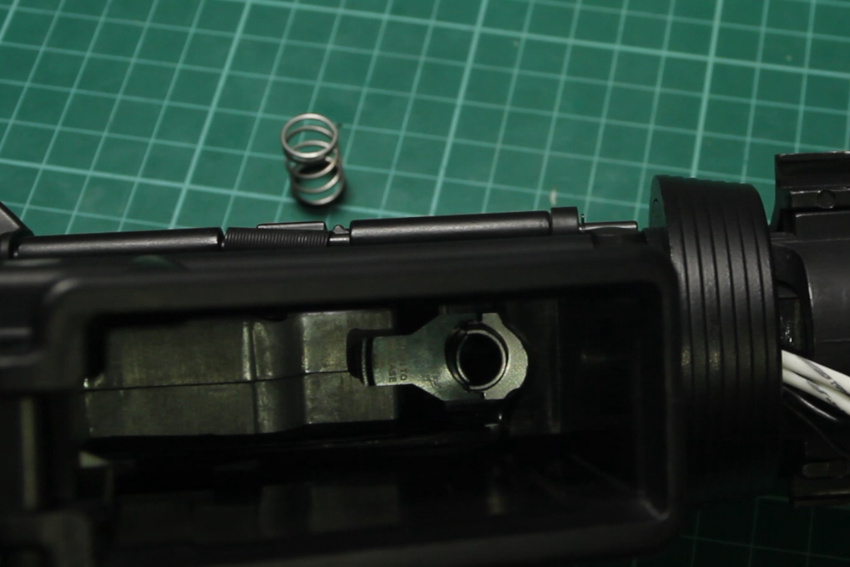
For this project I was aiming to finally use a MAXX Model Company CNC Aluminum hop-up camber my partner picked up in Hong Kong for me a couple of years prior. The problem was, this early IE Pro version didn’t quite fit properly on its own and required some rotary tool work I was not willing to do at the time.
So, I decided to go back and use the Deep Fire M4 metal hop-up chamber which was going to require less work to fit. I had recently updated the lower receiver with a G&P Canada Style mag catch / release lever, which seemed to play nicely with the Deep Fire chamber and basically required no additional modification to seat the magazines properly.

One thing I noticed though was that the magazines would not always positively lock into place, so I had to be mindful about securing them in the mag well and catch before doing anything further.
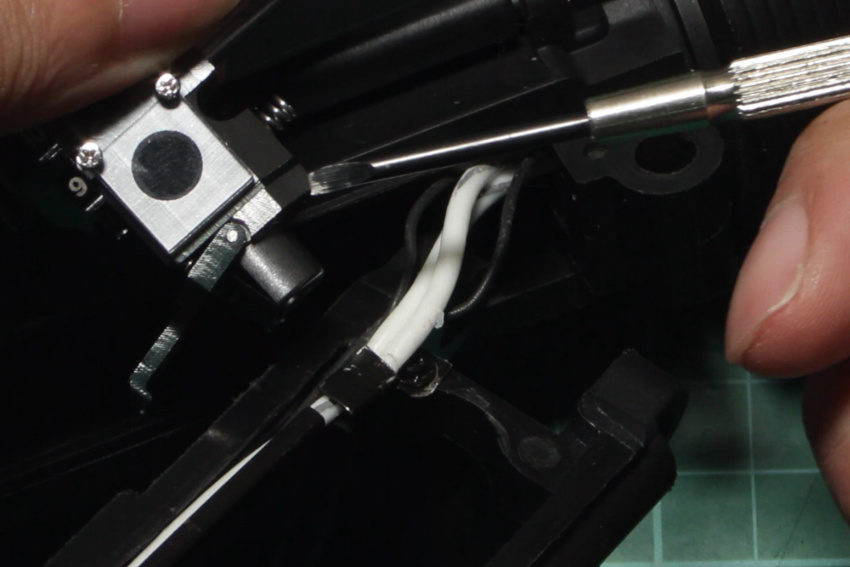
Air Seal Nozzle Nuances
All this time it turned out the stock ICS air seal nozzle didn’t actually mate well with the Deep Fire chamber. The nozzle’s tip profile was wide and flat which prevented it from going further into the Deep Fire chamber and seat correctly against the hop-packing. Luckily I had a Lonex nozzle in the right length which had the correct taper and took care of the air leak.
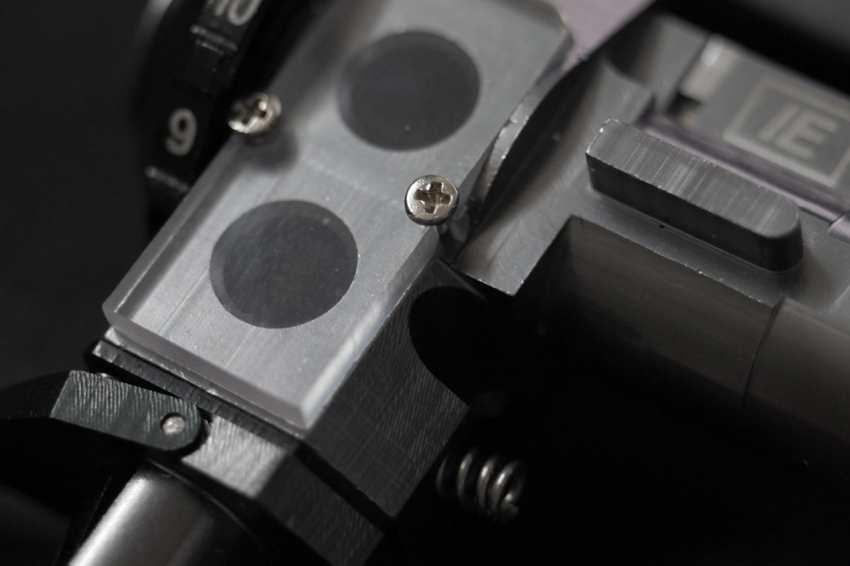
Final Tests and Conclusions
After searching for and sorting all the sealing issues I had, I took new chronograph readings with 0.20g BBs. My main concern was focused on the 70 Duro Sorbothane pad that was on the cylinder head.
There are many arguments against using Sorbothane pads due to its elastic nature causing problems with piston bounce, premature engagement with the gears, and ultimately inconsistent muzzle velocity readings.
So I was really surprised with the readings I got when they were showing very minor variances under +/- 1 feet per second. In terms of inconsistency, there was a large shift of about 10 to 15 FPS muzzle velocity when the shift happened. However, between consecutive shots the readings were surprisingly stable, most being below 1 FPS variance.
There were times when there would be a gradual shift up from the initial reading when several shots were taken in succession, but this would eventually settle down back to less than +/- 1 FPS variances.
With the parts changed and air seals ensured, the compression performance improved significantly and muzzle velocities with 0.20g BBs read at 298 FPS-low creeping up to a 315 FPS-high using the same mainspring. When compared to the initial 205 to 220 FPS readings, that would be about a 90 FPS increase, or 145% improvement overall!
Some observations I had with the use of the Combat Union piston body was that the coating on the tooth rack chips away on the release tooth end quite easily, even with a light mainspring load and few piston cycles. Despite this tooth geometry did not change yet and I expect the parts to hold up well.
So far restoration is a success. The ICS M4 S-System is now in a working state, with good compression. How well the parts will last will need to be observed, but thanks to this I now have a base AEG I can use for exploratory projects.
Now if you found this post helpful please consider dropping by our social channels and YouTube channel to say hello! Share this article with your airsoft friends, and for those who want to show their support directly, you can buy me a coffee in the PayPal link below.

Thanks!
– J4