In this entry I am restoring an ICS M4 S System starting with work on the gear train. The core of every AEG rebuild is a good shim job that stabilizes the gears and ensures smooth operation. In this entry I will show you how I go about the shimming process and the things to watch out for.
ICS Split Gearbox Advantage
The M4 AEG is one of the most basic and common airsoft guns that you will encounter. With so much competition present from the majority of manufacturers, ICS manages to differentiate themselves by implementing a split gearbox and mechanical spring decompress feature into their M4 AEGs right from the factory.
The mechanical decompress and split gearbox shell are features that make ICS the best out of factory platform for techies to rapidly work through their testing without spending a lot.
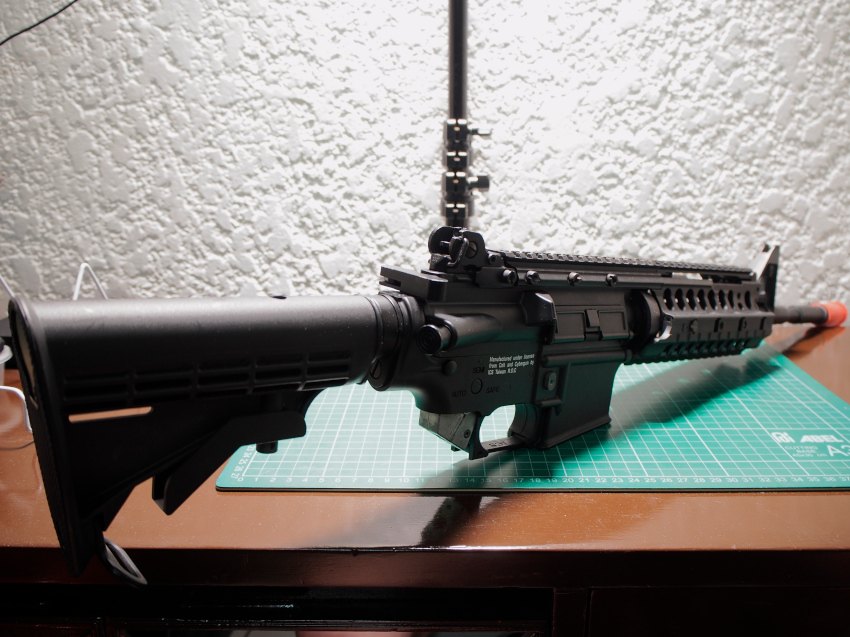
I happen to have acquired one, but not in the most complete of conditions. So in this entry I take the initial steps in restoring the airsoft gun, starting with shimming the gear set in the lower gearbox.
I really like ICS’ split gearbox design. It allows me to keep the compression components assembled together in the top half while I do isolated work on the gear train on the bottom half.
Like in this instance I have an idea that the compression set up is in relatively good working order and I need to work on the shimming process on the bottom half. Having a split gearbox means I don’t have to clutter the work space with more disassembled parts. I just grab the bottom part of the gearbox, my gears and a set of shims and focus my efforts getting the gears lined up.
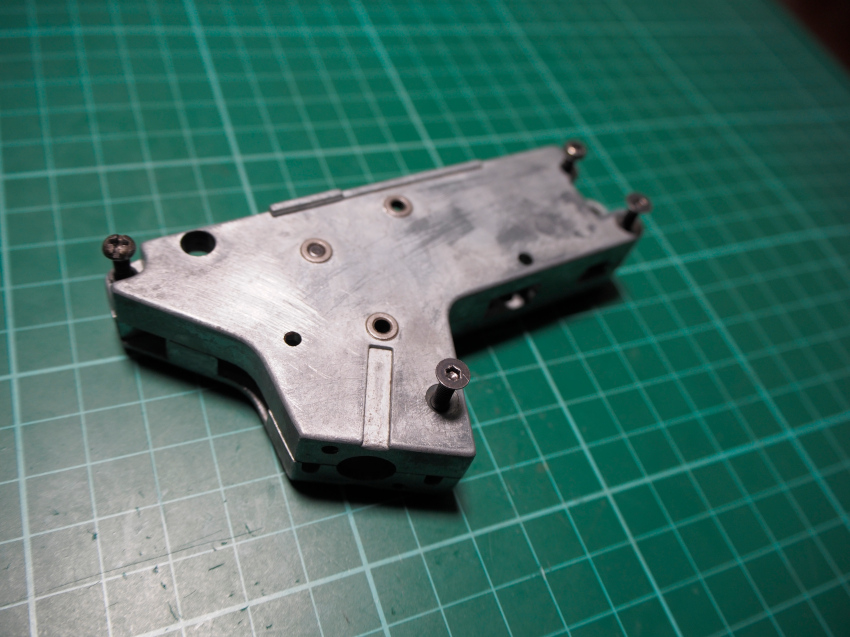
Remove the Gearbox
This being an ICS Split Version 2 gearbox, there are 2 halves that need to come off. The first step is to press the forward assist to engage the spring decompress feature and make sure that the gearbox is not in a state of tension. Next is the removal of the rear receiver pin that allows the top receiver to swing up which also separates the upper and lower gearbox.
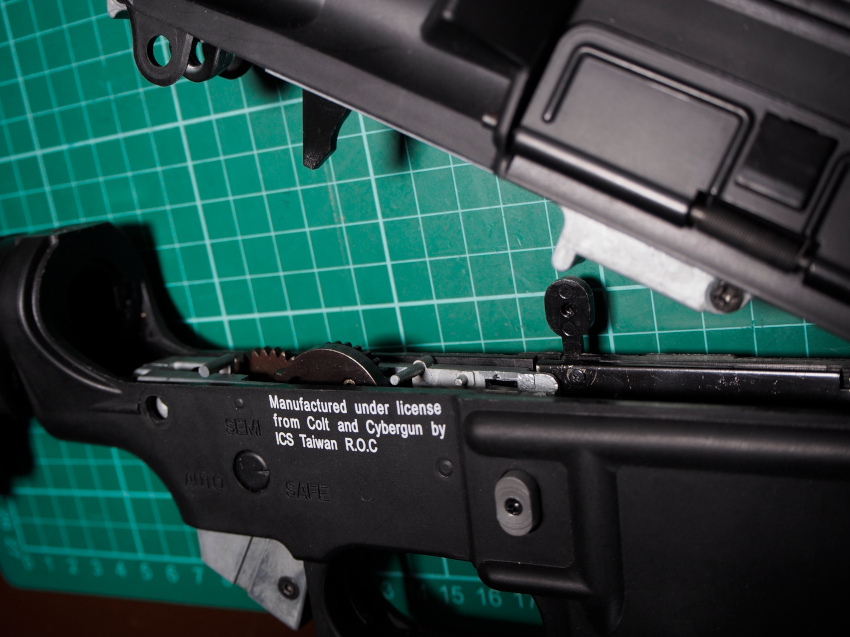
Removing the upper gearbox is as simple as sliding it out of the upper receiver. However, the focus for this part of the restoration is the shimming procedure that needs to be done on the replacement gear set inside the lower gearbox. Since there is no pistol grip and electrical circuit, all that needs to be done is the removal of the magazine catch.
I’ve currently installed a G&P Ambi-Mag Catch that is held together with a single screw. Using a Philips screw driver with a precise profile disassembles the catch which unhooks the gearbox from the lower receiver. All that’s left is to set the fire selector switch to semi before pulling the lower gearbox out.
With the lower gearbox removed from the lower receiver, the first steps in restoring this ICS M4 can begin, and the very first priority should be to check that the shimming is done properly.
Why You Need to Shim
Is shimming required? Absolutely! For airsoft automatic electric guns, or AEGs, shimming is a very important procedure. Shimming by itself is the process of wedging material between gaps to act as spacers.
Shimming can be applied in multiple areas in airsoft, but for this instance let’s focus on the shimming of the gear set for my restoration of this ICS M4 S System. In this case we have thin metal disks with holes to fit through the gear axles in varying sizes, thicknesses, and material to allow us to fine tune the spacing of each individual gear.
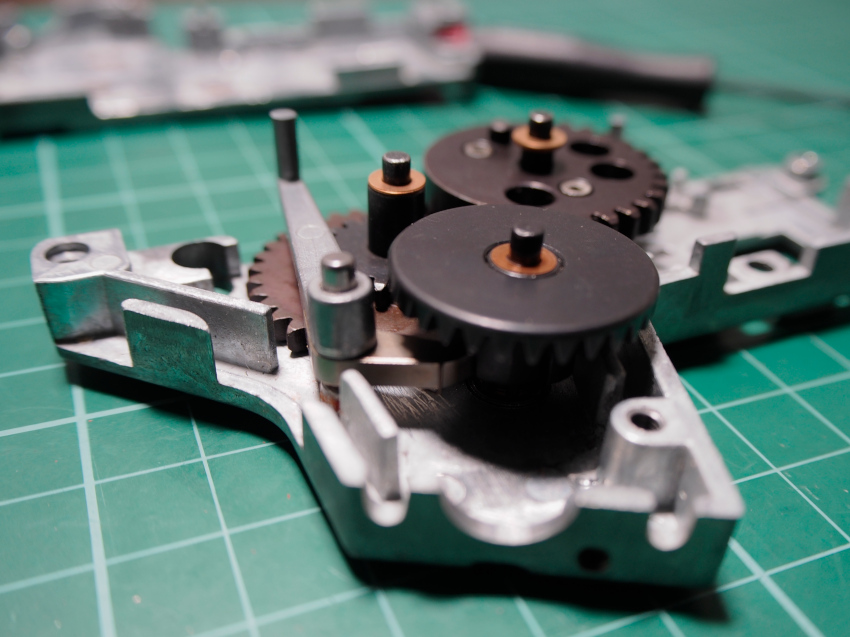
There are many different kinds and manufacturers of gearboxes and gears in the airsoft industry. To maintain some level of compatibility with this wide selection, manufacturers account for varying tolerances. One of which involves positioning a gear set in the optimal position inside a gearbox through shimming.
Depending on the gearbox dimensions and the thickness of the bushings used, gears will sit with a certain amount of play inside an un-shimmed gearbox.
The goal of the shimming process is to eliminate that play and place each gear in an optimal position to deliver stable power from the motor up onto the piston body and spring, with the least amount of resistance.
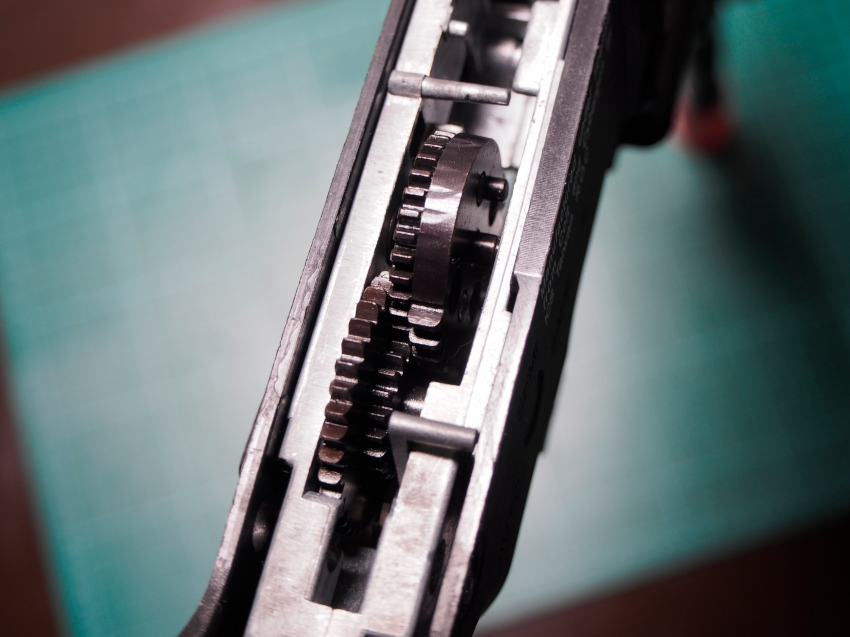
By spacing each gear properly, stability is achieved by positioning the gear set in such a way that they form a good mesh between each other. The face of the gear teeth must have greater than 50% contact between each gear to ensure sufficient support or avoid overloading the teeth.
Reducing vibration and drag brings down resistance contributing to a good mesh. The shim job needs to space spinning gears from snagging on things like the gearbox shell, bushings, cut of lever screws, as well as ensure separation between gear faces themselves.
After clearing the obstructions, the shim job must bring stability by filling the remaining gap to set the gears in place. All the while care must be taken that the shim job is not too tight that it contributes to the drag. Gears must be shimmed loose enough that they can freely spin without slowing down due to pressure from the gearbox sandwiching them, but not to the point that excessive side to side play causes gears faces to contact each other or that gear teeth experience uneven wear.
By now I hope I made you realize that shimming a gear set properly directly contributes to the durability as well as the performance of an AEG. Where a good shim job will result in long lived smooth operation, a poor one inevitably results in deterioration and eventual destruction. This is why I think that a good shim job is the core of every good AEG rebuild and individuals need to take the time to get it right the first time.
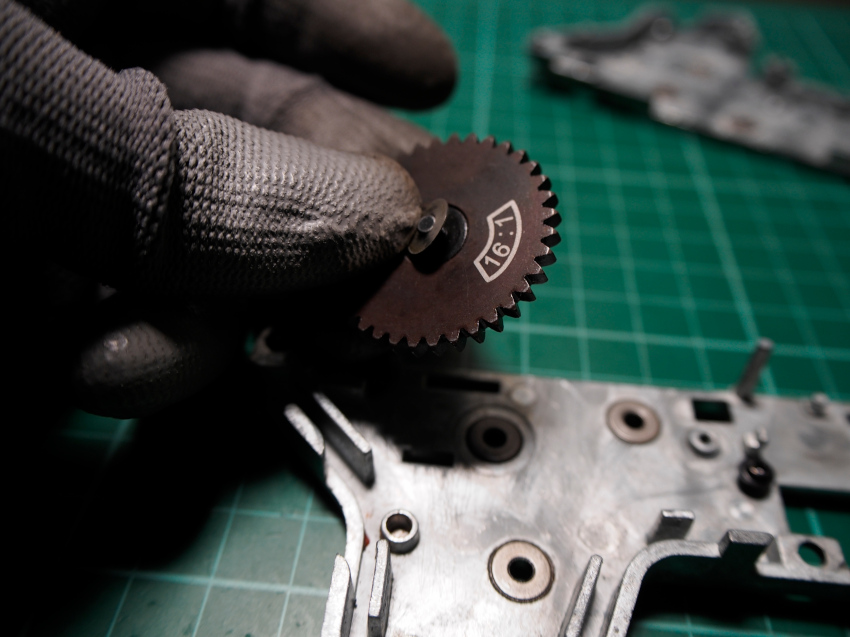
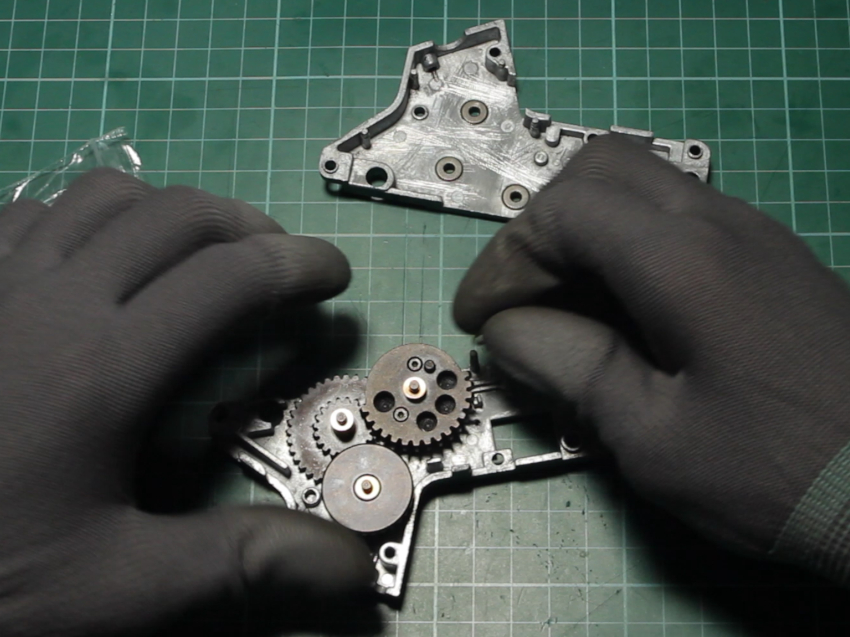
Start With the Spur Gear
The spur gear sits lowest in this orientation and is the gear that sets the reference point for the other gears. The goal is to have the spur gear sit low but clear drag and snags from any gearbox material or obstacles.
However keep in mind that both sides of the gear axle needs to have at least one shim placed on them. So, if the bushings add height to the gears use the thinnest possible shim or swap out the bushings for a lower profile one. Otherwise the bushings will have to be ground down to make the necessary room required for shimming.
I like to start with the back of the spur gear with the goal of keeping the gear close to the shell while clearing obstructions. Keeping the spur gear sitting low ensures ample room for adjustment, preventing the gear faces of additional gears from rubbing when it is their time to be shimmed.
After the first side of the spur gear has been shimmed, the gear needs to be set in place by filling up the remaining gap on the opposite end, eliminating much of the side play on its axle. Start with thick shims and then close the gearbox with the other half of the shell. Push the gear up and down the axis of its axle to check for play and ensure that there is the least possible amount.
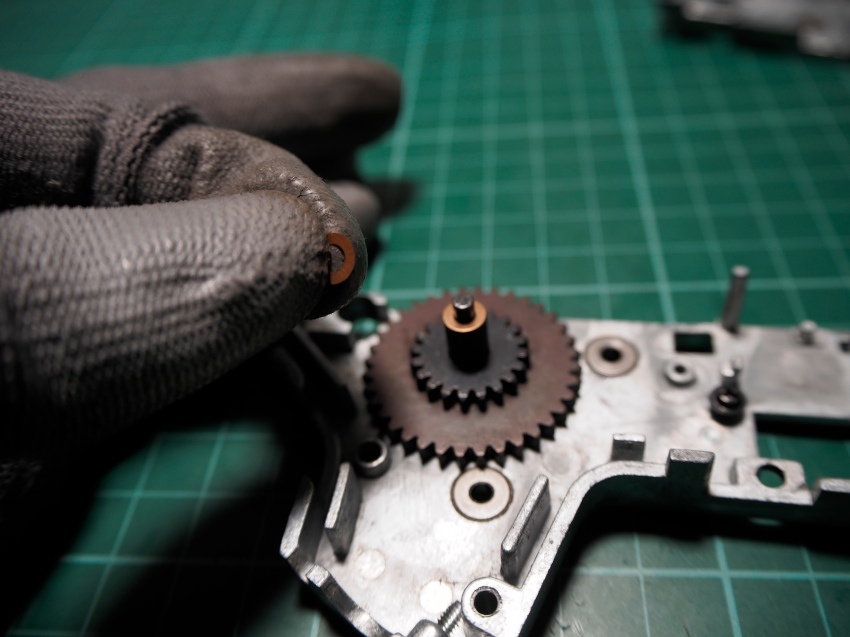
Turn the gears by hand to check for how freely they spin. Keep adding on shims until the moment the gears begin to drag against the bushing when spun. This drag is can be identified with the abrupt stop of the gear’s spin when spun by hand. The moment drag is felt and observed remove the last shim that was added and replace it with a thinner shim to ease some pressure and then close the gearbox shell to test for how freely the gears spin again.
Believe it or not, sometimes closing up the gear shell and installing fasteners can change the way gears sit, resulting in unexpected increase in drag. It is possible that you may have to account for these changes when applying your shims.
When you’ve struck a balance with stability provided by filling the gaps and the least drag to allow free spinning gears on a closed gearbox with fasteners, that’s when you know the shim job is adequately good and that it’s time to move on to the next gear.
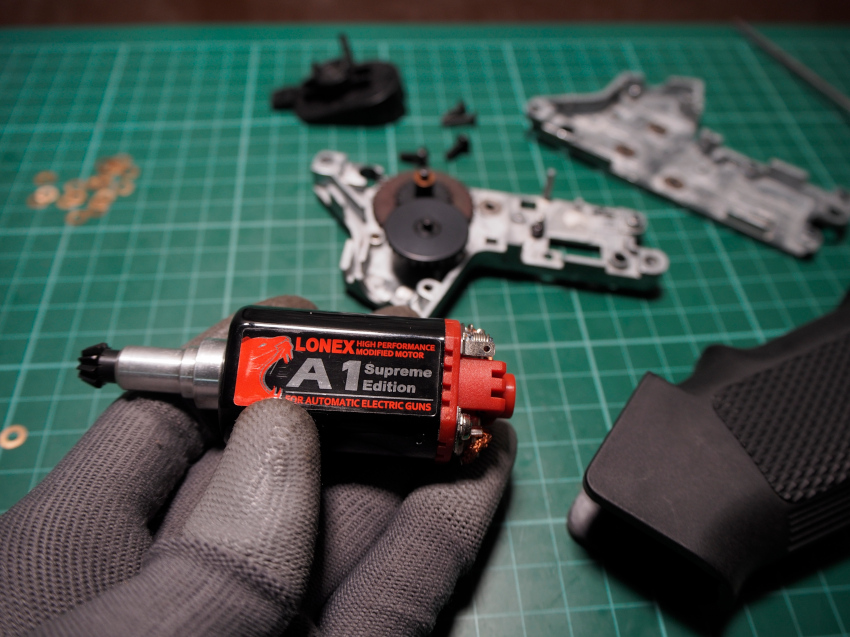
Bevel Gear and Setting Up Motor Height
After shimming the spur gear it’s time to shim the bevel gear. However, to shim the bevel gear, the way it interfaces with the pinion gear on the motor needs to be accounted for. When the motor is installed it pushes up against the bevel gear displacing it along the axis of its axles. The motor height needs to be adjusted to establish a good mesh between the bevel and pinion gear for good power delivery to the gear train.
Usually a bevel and pinion gear with closely matching pitch will have optimized meshing when the base of the pinion gear teeth line up with the outer most radii of the bevel gear. The pinion gear has more material at the base of its gear teeth and the greater tooth length delivers the most torque here. If the pitch between the teeth are significantly dissimilar then there will be a limit in how well the motor’s pinion gear will mesh and how far the gears can be driven up against each other.
The position at which the bevel gear displaces to while in pursuit of the right motor height adjustment will be the point at which to shim the bevel gear.
There is a screw plate at the bottom of the pistol grip cover that can be adjusted to move the motor up and down. Keep in mind that taking the adjustment and driving the motor far too deep can actually bottom out the bevel gear against the bushing, and lead to excessive drag or deformations. This is why a low profile set of bushings is preferred to maximize the room available for gears to position themselves before shimming.
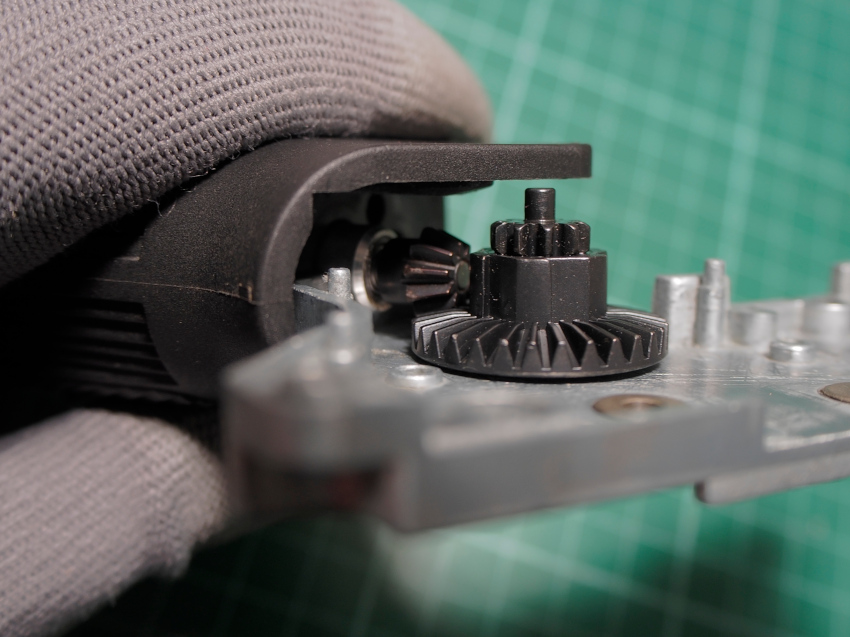
Unlike the spur gear, I work with the top side of the bevel gear installed on the top half of the gearbox. I install the motor grip, motor and cover to work out the initial mesh and position of the gear. In this set up, having the other half of the gearbox exposed gives me a clear view of how the bevel and pinion gear mesh.
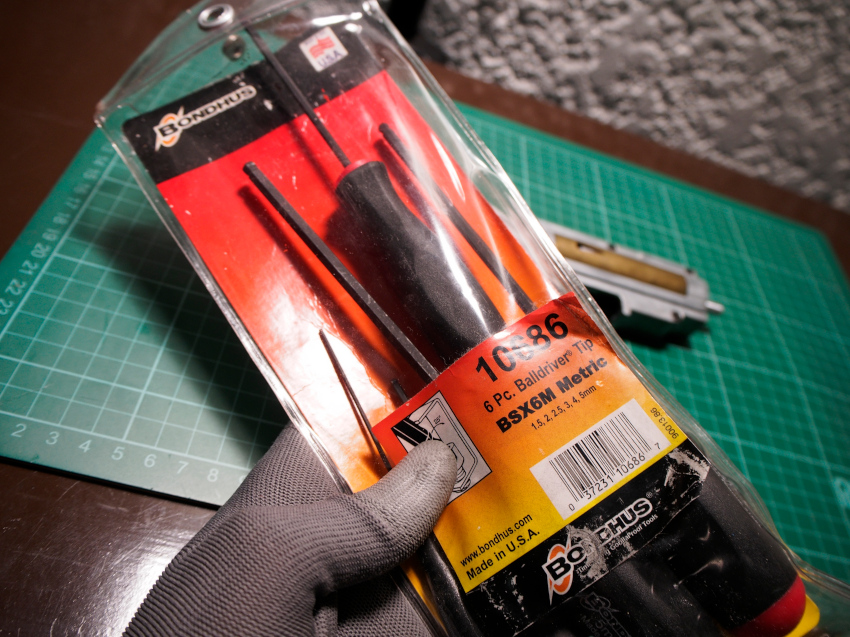
I like to use a micro flat head screw driver to prod and check for how much play and spacing there is between the bushing and bevel gear.
Once the initial mesh between the bevel and pinion gear has been established, we can begin shimming the gear in the position it settled in, starting with the top of the gear. Unlike the spur gear where I just had to watch out for obstacles, the bevel’s position has been determined by the motor and pinion gear. The spacing on the gear axles against the bushing and gearbox has been determined. The only thing to do now is to fill up the gap with shims.
Again start with thick shims while checking each time by hand that the gears spin freely when turned by hand and coast. When excessive resistance begins to hamper the spin of the gears, replace the last shim with a thinner one and test again.
Like before, the goal is to fill as much of the gaps on the axle and bushing without compromising the gear’s ability to spin freely. Due to the nature of this process, some play cannot be avoided, but when a balance has been achieved, it is time to move onto the sector gear.
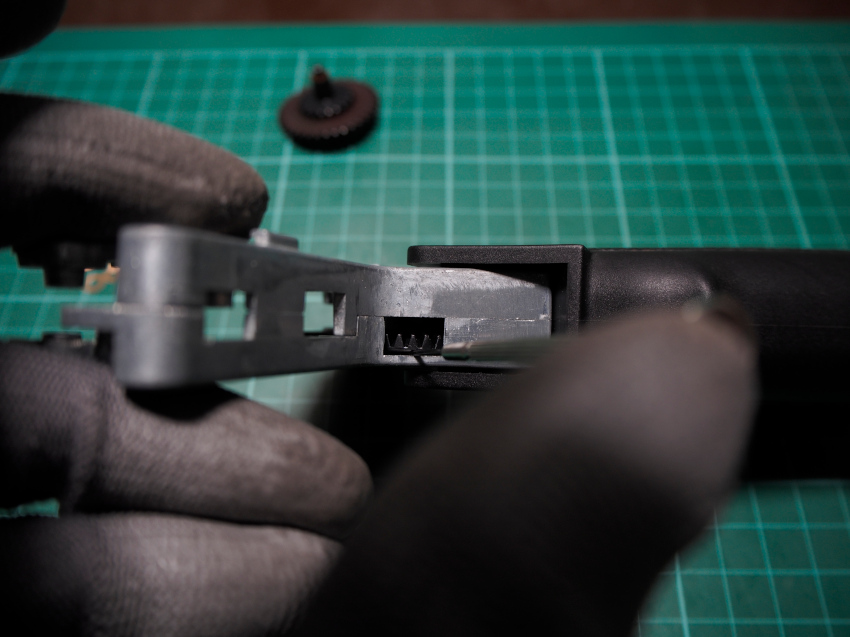
Shimming the Sector Gear
The sector gear has a disc that has teeth on a section of its circumference rather than all the way around. This section of teeth is what pulls on the piston body and spring on the upper gearbox.
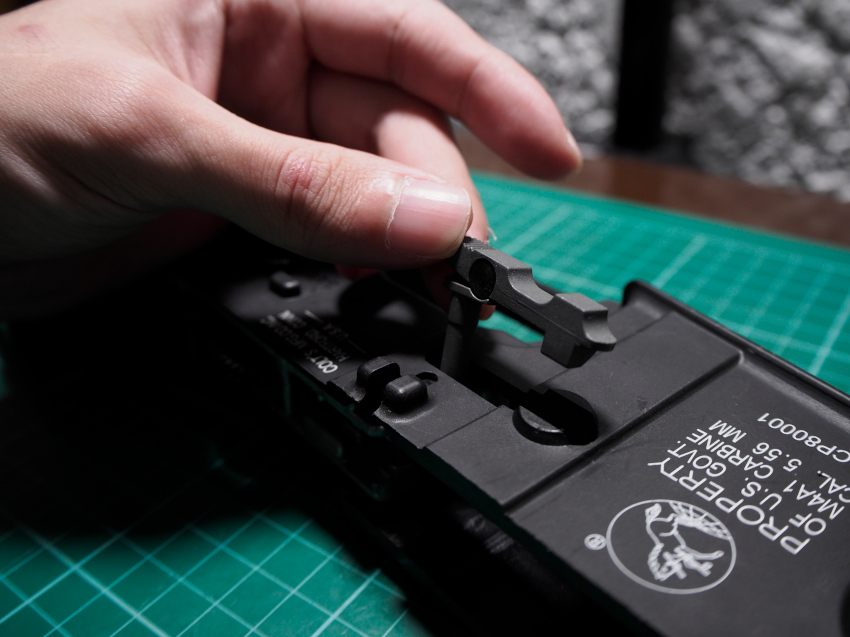
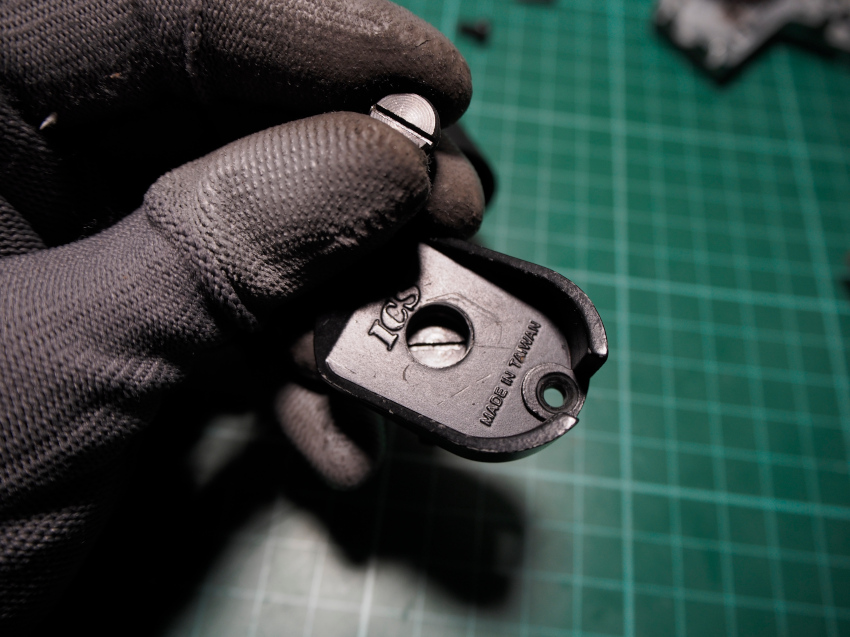
Before shimming the sector gear I installed the cut off lever to the lower gearbox shell. The cut off lever is an arm that is actuated by a cam lobe at the bottom face of the sector gear. After every complete rotation of the sector gear, the cut off lever can be actuated to reset the trigger mechanism during semi automatic shooting.

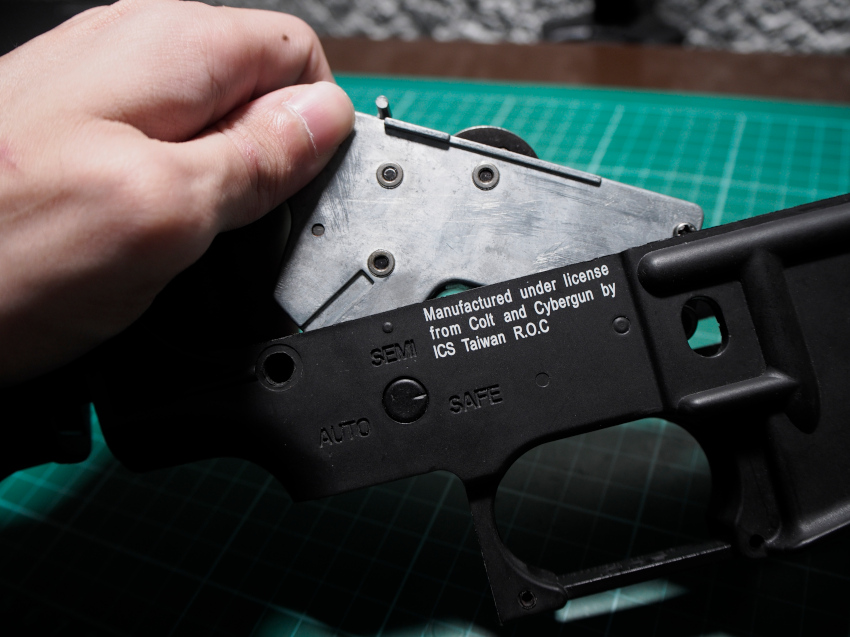
To position the sector gear properly, I start at the bottom again to give it the initial height it needs to clear the face of the sector gear and the cut off lever. The screw that fastens the cut off lever down tends to stick out and can be caught by the sector gear in some cases. The goal is similar to the spur gear where you want it sitting low but high enough to clear any drag inducing obstacles.
While trying to avoid gear faces from rubbing, I make sure to ensure that, as discussed before, there is greater than 50% contact on the mesh between the faces of gear teeth. In the case of some helical gears that require the use of half tooth pistons, the way the section of teeth that pulls on the piston interfaces needs to be considered. However, I am using a straight cut gear set that uses full width teeth on the piston body.
Once shimming on the bottom of the sector gear is complete, finish off the shim job by filling the top if the gear axles with shims to hold the gear in place. Like before, look for the combinations of shims that give a happy medium of stability and unhampered operation when closing the gearbox and turning the gears by hand. Start with the thicker shims and fill in the gap. When the sector gear begins to drag against the force of the bushing and gearbox replace the last shim with a thinner one.
Closing Thoughts
If you’ve followed the previous steps with me, completing the shimming process on the sector gear completes the shim job. A couple of things I would like for you to notice is that the shimming process involves a lot of trial and error and the result of your shim job will differ due to the vast variety of Airsoft parts combinations out there.
Hopefully this entry helped you establish a method by which to stabilize the play on gears while keeping their operation as smooth as possible. One reason for aiming for a smooth operating power train that wasn’t taken up prior is the contribution of the resistance experienced by the motor to the rise in current draw from the battery and through the electrical circuit.
However, that entry is coming up next in part 2 of the ICS M4 restoration, where the focus is reconstructing the electrical circuit and trigger switch used to operate the AEG.
Extra
Heya there readers! Firstly, I want to thank you for being here. In case you didn’t know, the Hobby & Tech Warrior website is a dear personal project of mine and is something I hope to have the pleasure of sharing with readers who find its content valuable far into the future. As it stands right now, this website is taking a lot of effort to keep updated.
If you found the information here valuable and would like to help in the maintenance of this endeavor, I’ve set up a tipping page you can check out to give direct support. Otherwise sharing these articles to your friends and social channels also goes a long way. Thank you in advance and I really appreciate your kindness.

That’s it for the first step in restoring the ICS M4! Please keep an eye out for Part 2!
– J4